How to Pack Your Backpack: The Complete 2025 Guide for New Backpackers
Packing your backpack right can make or break your trip. Learn how to organize your gear, balance the load, and stay comfortable on the trail with this step-by-step beginner’s guide.
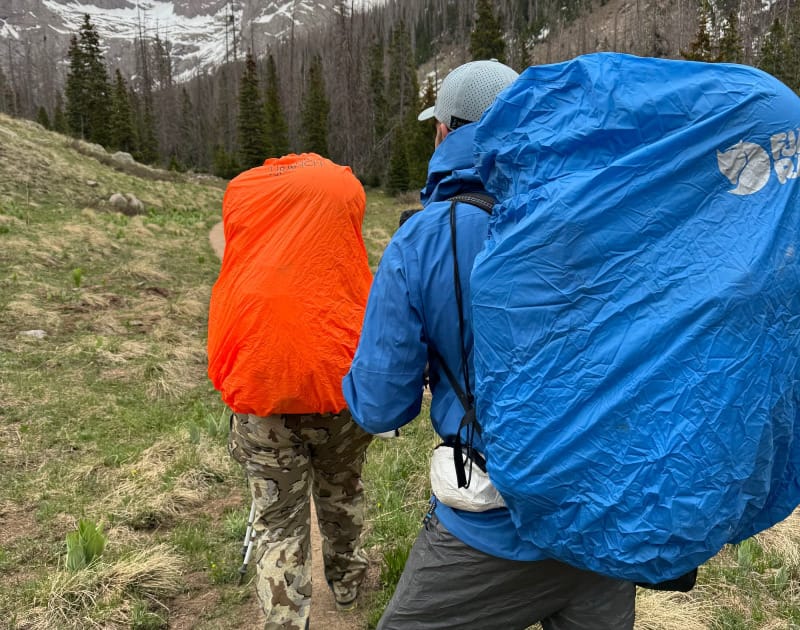
Whether you're planning your first overnight hike or prepping for a multi-day backcountry adventure, learning how to properly pack a backpacking backpack is a game-changer. Not only can smart packing keep you comfortable and balanced on the trail, but it also helps prevent injuries, fatigue, and frustration.
In this guide, you’ll learn exactly how to pack your backpacking backpack- from load distribution to essential packing tips -to ensure your gear is organized, accessible, and comfortable to carry. Let’s pack it up!
Why Packing Your Backpack Right Matters
An improperly packed backpack can lead to sore shoulders, back strain, and poor balance on uneven terrain. It can even cause real injuries! A well-packed bag:
- Keeps your center of gravity stable
- Distributes weight to your hips instead of your shoulders
- Prevents gear shifting and rubbing
- Makes your must-have items easy to access on the go

Know Your Pack: Backpack Anatomy 101
Before you even start stuffing gear in, get to know the zones of your pack:
| Pack Zone | Best For |
|---|---|
| Bottom | Bulky but lightweight items (e.g., sleeping bag, pad) |
| Core (middle) | Heavy items (e.g., food, stove, bear canister, water) |
| Top | Lighter, essential items (e.g., jacket, first aid) |
| External pockets | Quick-access gear (e.g., snacks, map, headlamp, rain gear) |
| Hipbelt pockets | Lip balm, sunscreen, bars, bug repellent |
| Lid/brain | First aid kit, navigation tools, gloves, etc. |
| Side pockets | Water bottles, tent poles, fuel |
Step-by-Step: How to Pack a Backpacking Backpack
Lay Out All Your Gear First
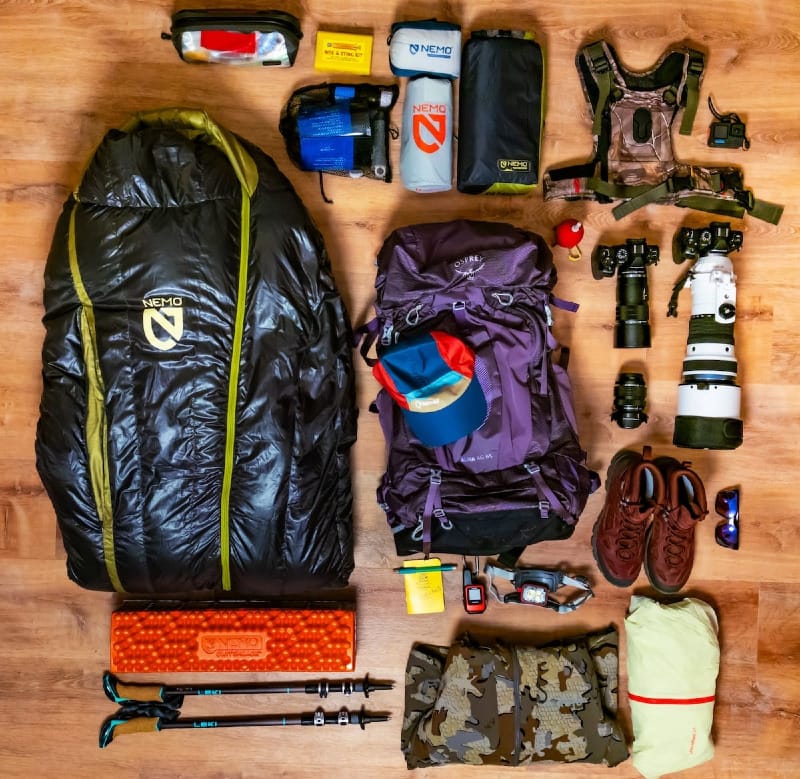
Before stuffing your backpack, lay everything out to check for missing items and overpacking. Organize into categories:
- Shelter & sleep
- Cooking & food
- Clothing
- Water
- Safety & navigation
- Personal items
Pro Tip: Use a gear checklist to stay dialed.
Start With the Bottom: Light and Bulky
Pack soft, compressible items that you won’t need during the day:
- Sleeping bag
- Sleeping pad (if not stored outside)
- Camp clothes
These provide a cushion and keep your heavier items from sagging downward.
Middle Zone: Heaviest Items Centered and Close to Your Back
This is the core of your load. Heavier gear should be centered vertically and close to your spine to maintain balance and reduce back strain.
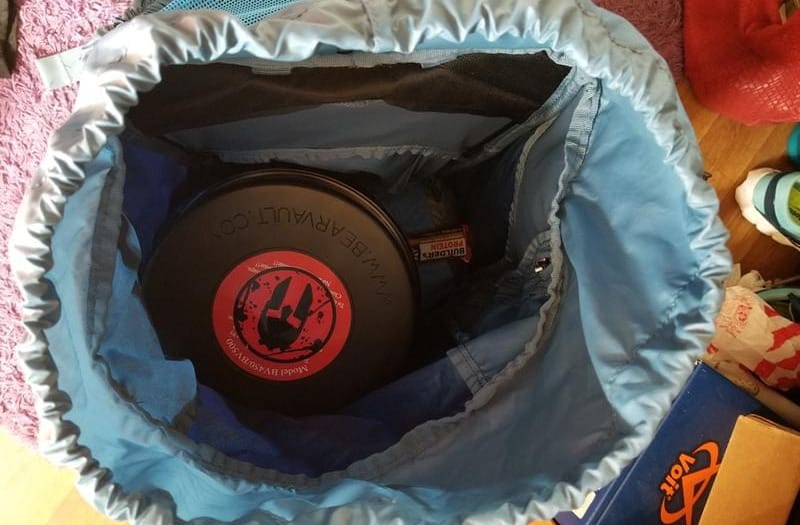
Pack:
- Bear canister or food bag
- Stove and fuel
- Water bladder
- Tent body (if heavy)
- Cook pot
Avoid bottom-loading heavy items; they’ll drag your center of gravity down and throw off your balance.
Top Layer: Light Items You’ll Want During the Day
Think convenience and insulation:
- Puffy jacket and rain gear
- First aid kit
- Water filter
- Pack cover
- Lunch or day snacks
These items are lighter, but still useful to have easily accessible.
Outside and Accessory Pockets: High Access

Store trail essentials:
- Sunscreen
- Snacks
- Headlamp
- GPS or phone
- Map
- Toilet supplies (TP + trowel + wag bag)
Safety First: Your headlamp and first aid kit should never be buried deep.
Side Pockets and Daisy Chains
- Tent poles and stakes go well in side pockets or secured with compression straps.
- Water bottles should be reachable without taking off your pack.
- Trekking poles, ice axe, or tripod can go on external loops if your pack has them.
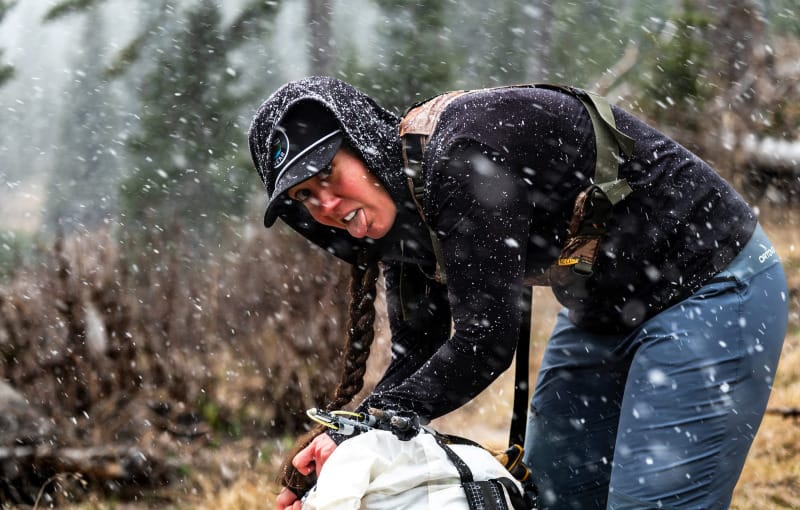
Balance and Compression: Key to Comfort

Once everything is packed:
- Tighten internal compression straps (if your pack has them)
- Cinch down external straps
- Make sure your pack stands upright and doesn’t lean too much
You should be able to walk a few steps without the pack shifting or wobbling.
Fit Check: Before You Hit the Trail
- Adjust the hip belt first- resting on your iliac crest (top of your hip bones)
- Then tighten shoulder straps- shouldn’t carry most of the weight
- Load lifters should sit at a 45° angle if your pack has them
- Chest strap should be snug, not tight
Goal: 70–80% of the weight on your hips, 20–30% on your shoulders.
Bonus Tips for Smart Packing
- Leave no trace: Always keep your trash and hygiene supplies separated and pack them out.
- Avoid overpacking: Just because you can fit it doesn’t mean you should.
- Dial in your base weight: Lightweight gear makes packing easier and more fun.
- Test your pack at home: Do a mini hike around the block or up a hill.
Packing your backpack doesn’t have to feel like a puzzle. Once you understand the zones, weight distribution, and what gear you truly need, the process becomes second nature. Whether you’re gearing up for a one-night trip or your first 5-day trek, this guide gives you the tools to pack smart, hike strong, and actually enjoy the journey.
Note: This post contains affiliate links. If you make a purchase through these links, we may earn a small commission at no extra cost to you. Thanks for supporting our work!